Unity控制小球运动
跟着B站教程,做了个简单的控制小球运动的场景,记录一下:
文章目录
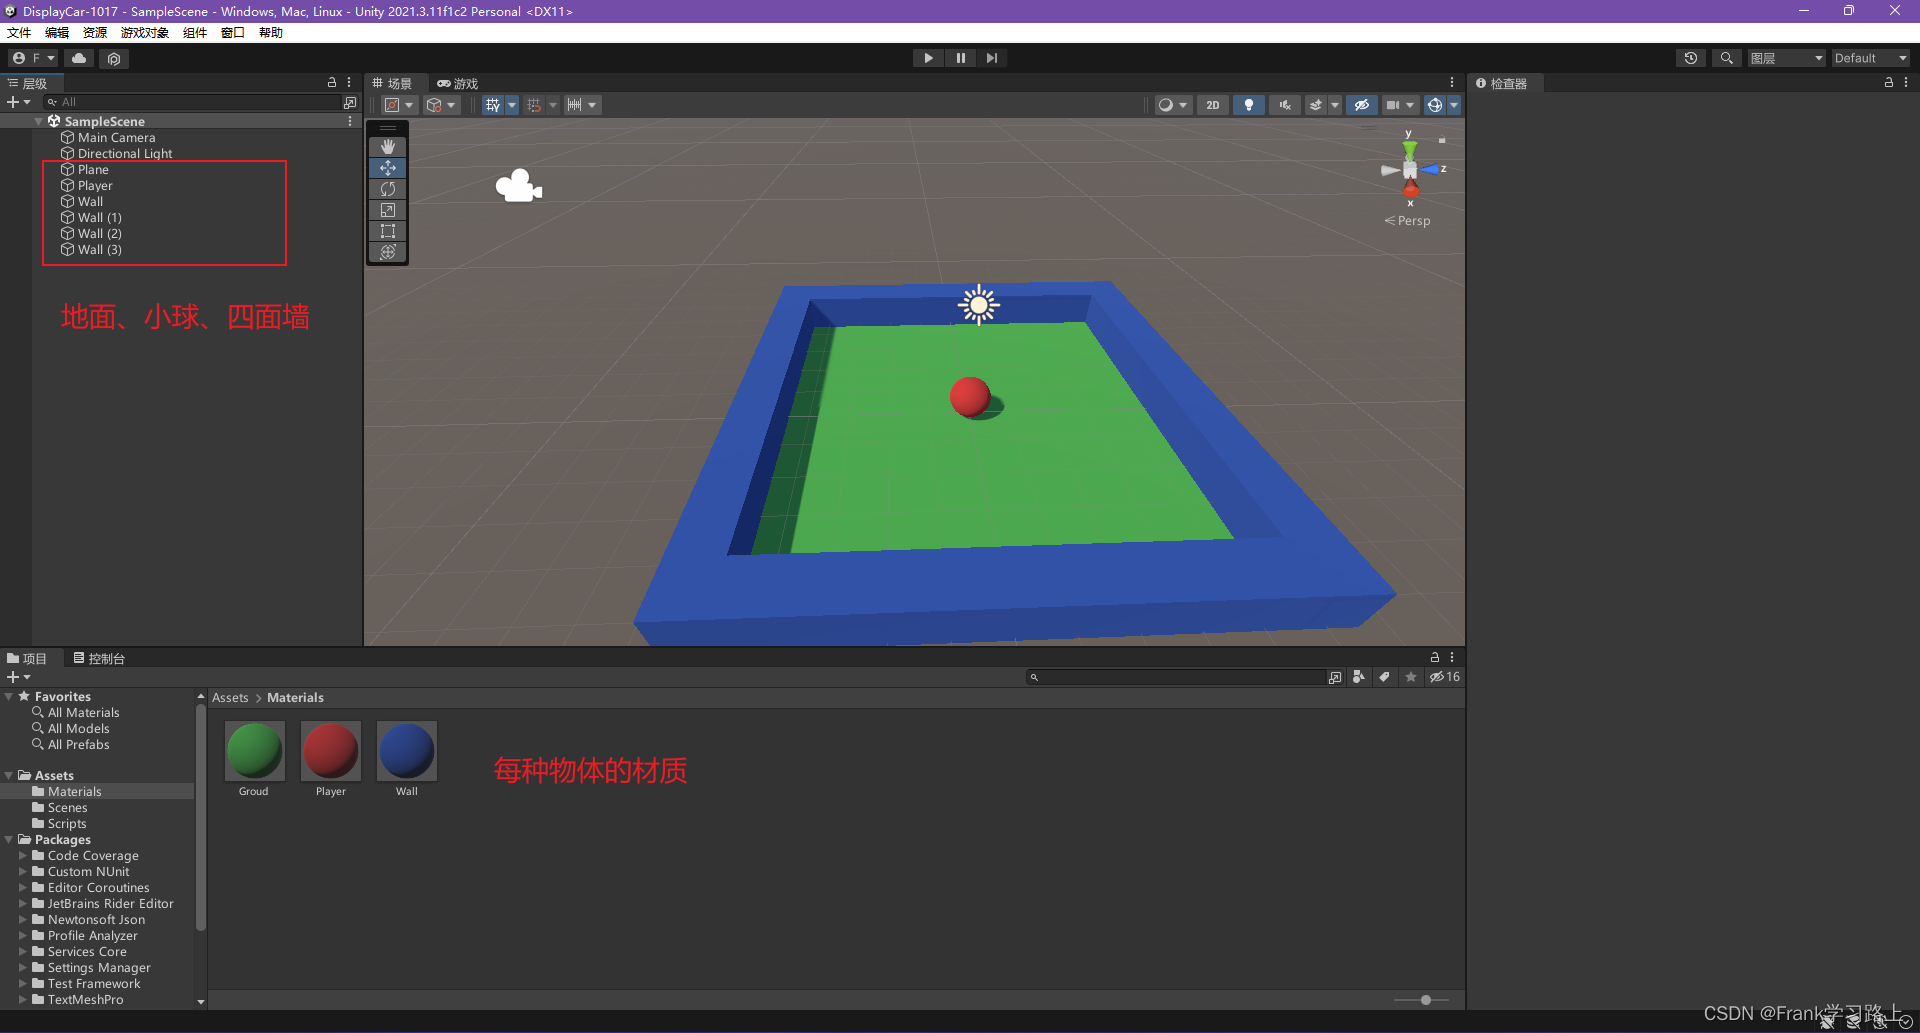
搭建场景
建立地面Plane、小球Player和四面墙Wall。
小球运动脚本
给小球创建一个刚体(有重力的物体),并添加一个Player脚本;
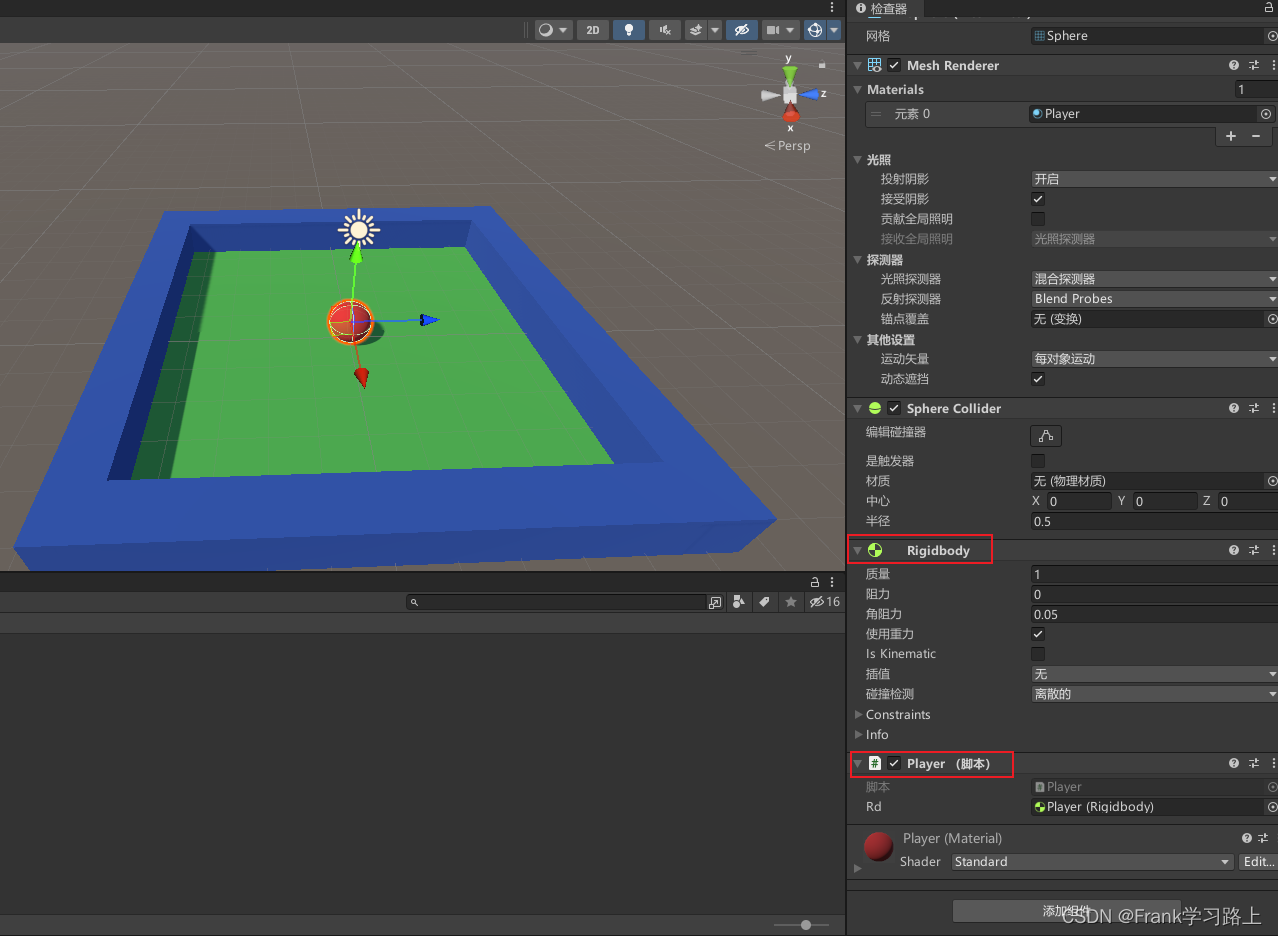
脚本编写如下:
using System.Collections;
using System.Collections.Generic;
using UnityEngine;

public class Player : MonoBehaviour
{
    public Rigidbody rd;    //public或者private(接口)

    // Start is called before the first frame update
    void Start()
    {
        //Debug.Log("游戏开始了!");
        rd = GetComponent<Rigidbody>(); // 调用刚体组件

    }

    // Update is called once per frame
    void Update()
    {
        //Debug.Log("游戏正在运行!");
        //rd.AddForce(Vector3.right); //施加1N(vector3.right left forward back)
        //rd.AddForce(new Vector3(10, 0, 0)); //自定义力

        float h = Input.GetAxis("Horizontal");  //keyboard A/D~~~-1/1
        float v = Input.GetAxis("Vertical");    //keyboard W/S~~~-1/1
        //Debug.Log(h); (1,2,3) \* 2 = (2,4,6) //加速
        rd.AddForce(new Vector3(h, 0, v));  //x y z
    }
}
相机跟随小球运动脚本
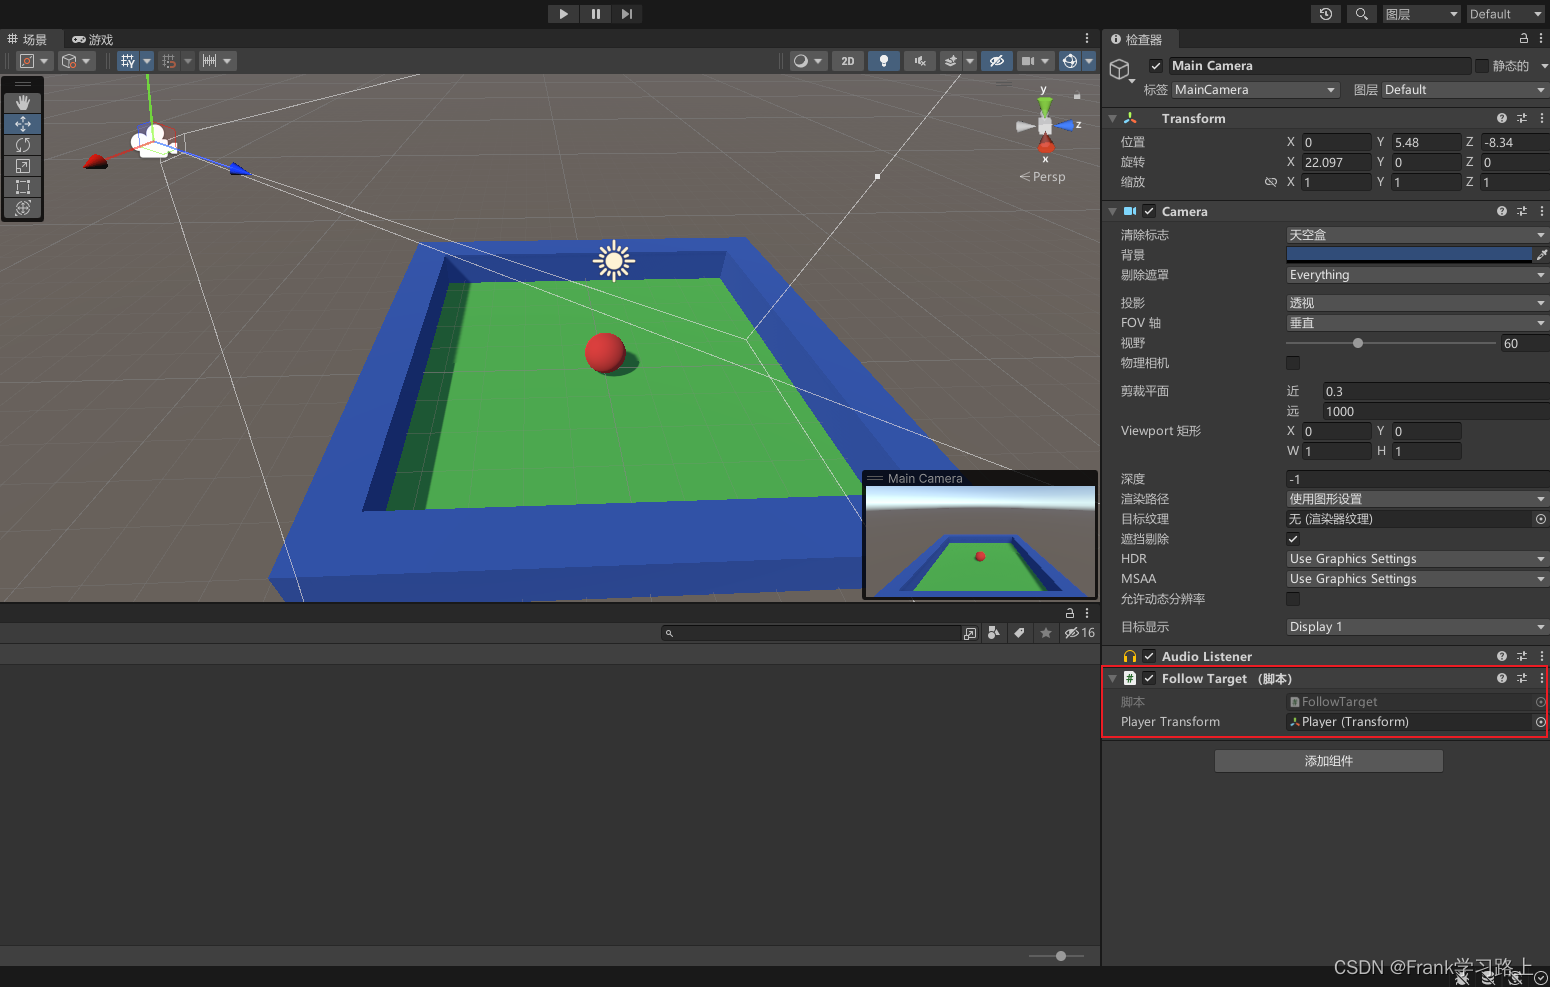
如果相机位置固定,小球运动的时候无法实时看到小球的运动,因此要让相机跟随运动,才有运动的效果;
给相机添加FollowTarget脚本,并关联小球刚体:
脚本编写如下:
using System.Collections;
using System.Collections.Generic;
using UnityEngine;

public class FollowTarget : MonoBehaviour
{
    public Transform playerTransform;   //球的位置
    private Vector3 offset; //将offset定义在函数外(全局)

    // Start is called before the first frame update
    void Start()
    {
        offset = transform.position - playerTransform.position; //计算相机与小球距离
        //Vector3 offset;
    }

    // Update is called once per frame
    void Update()
    {
        transform.position = playerTransform.position + offset; //相机实时运动跟随
    }
}
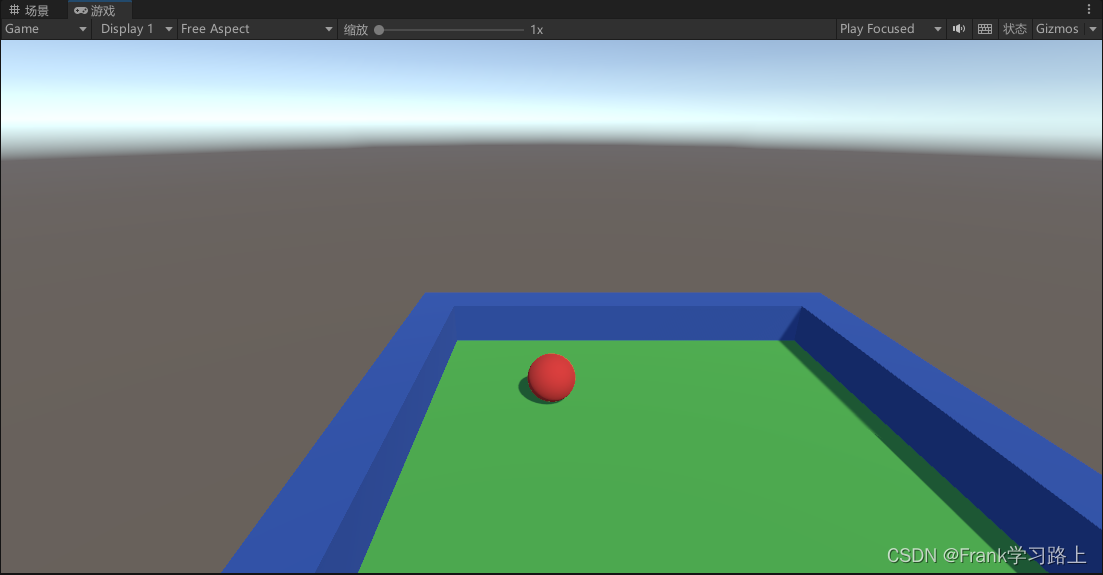
效果展示
以上。